
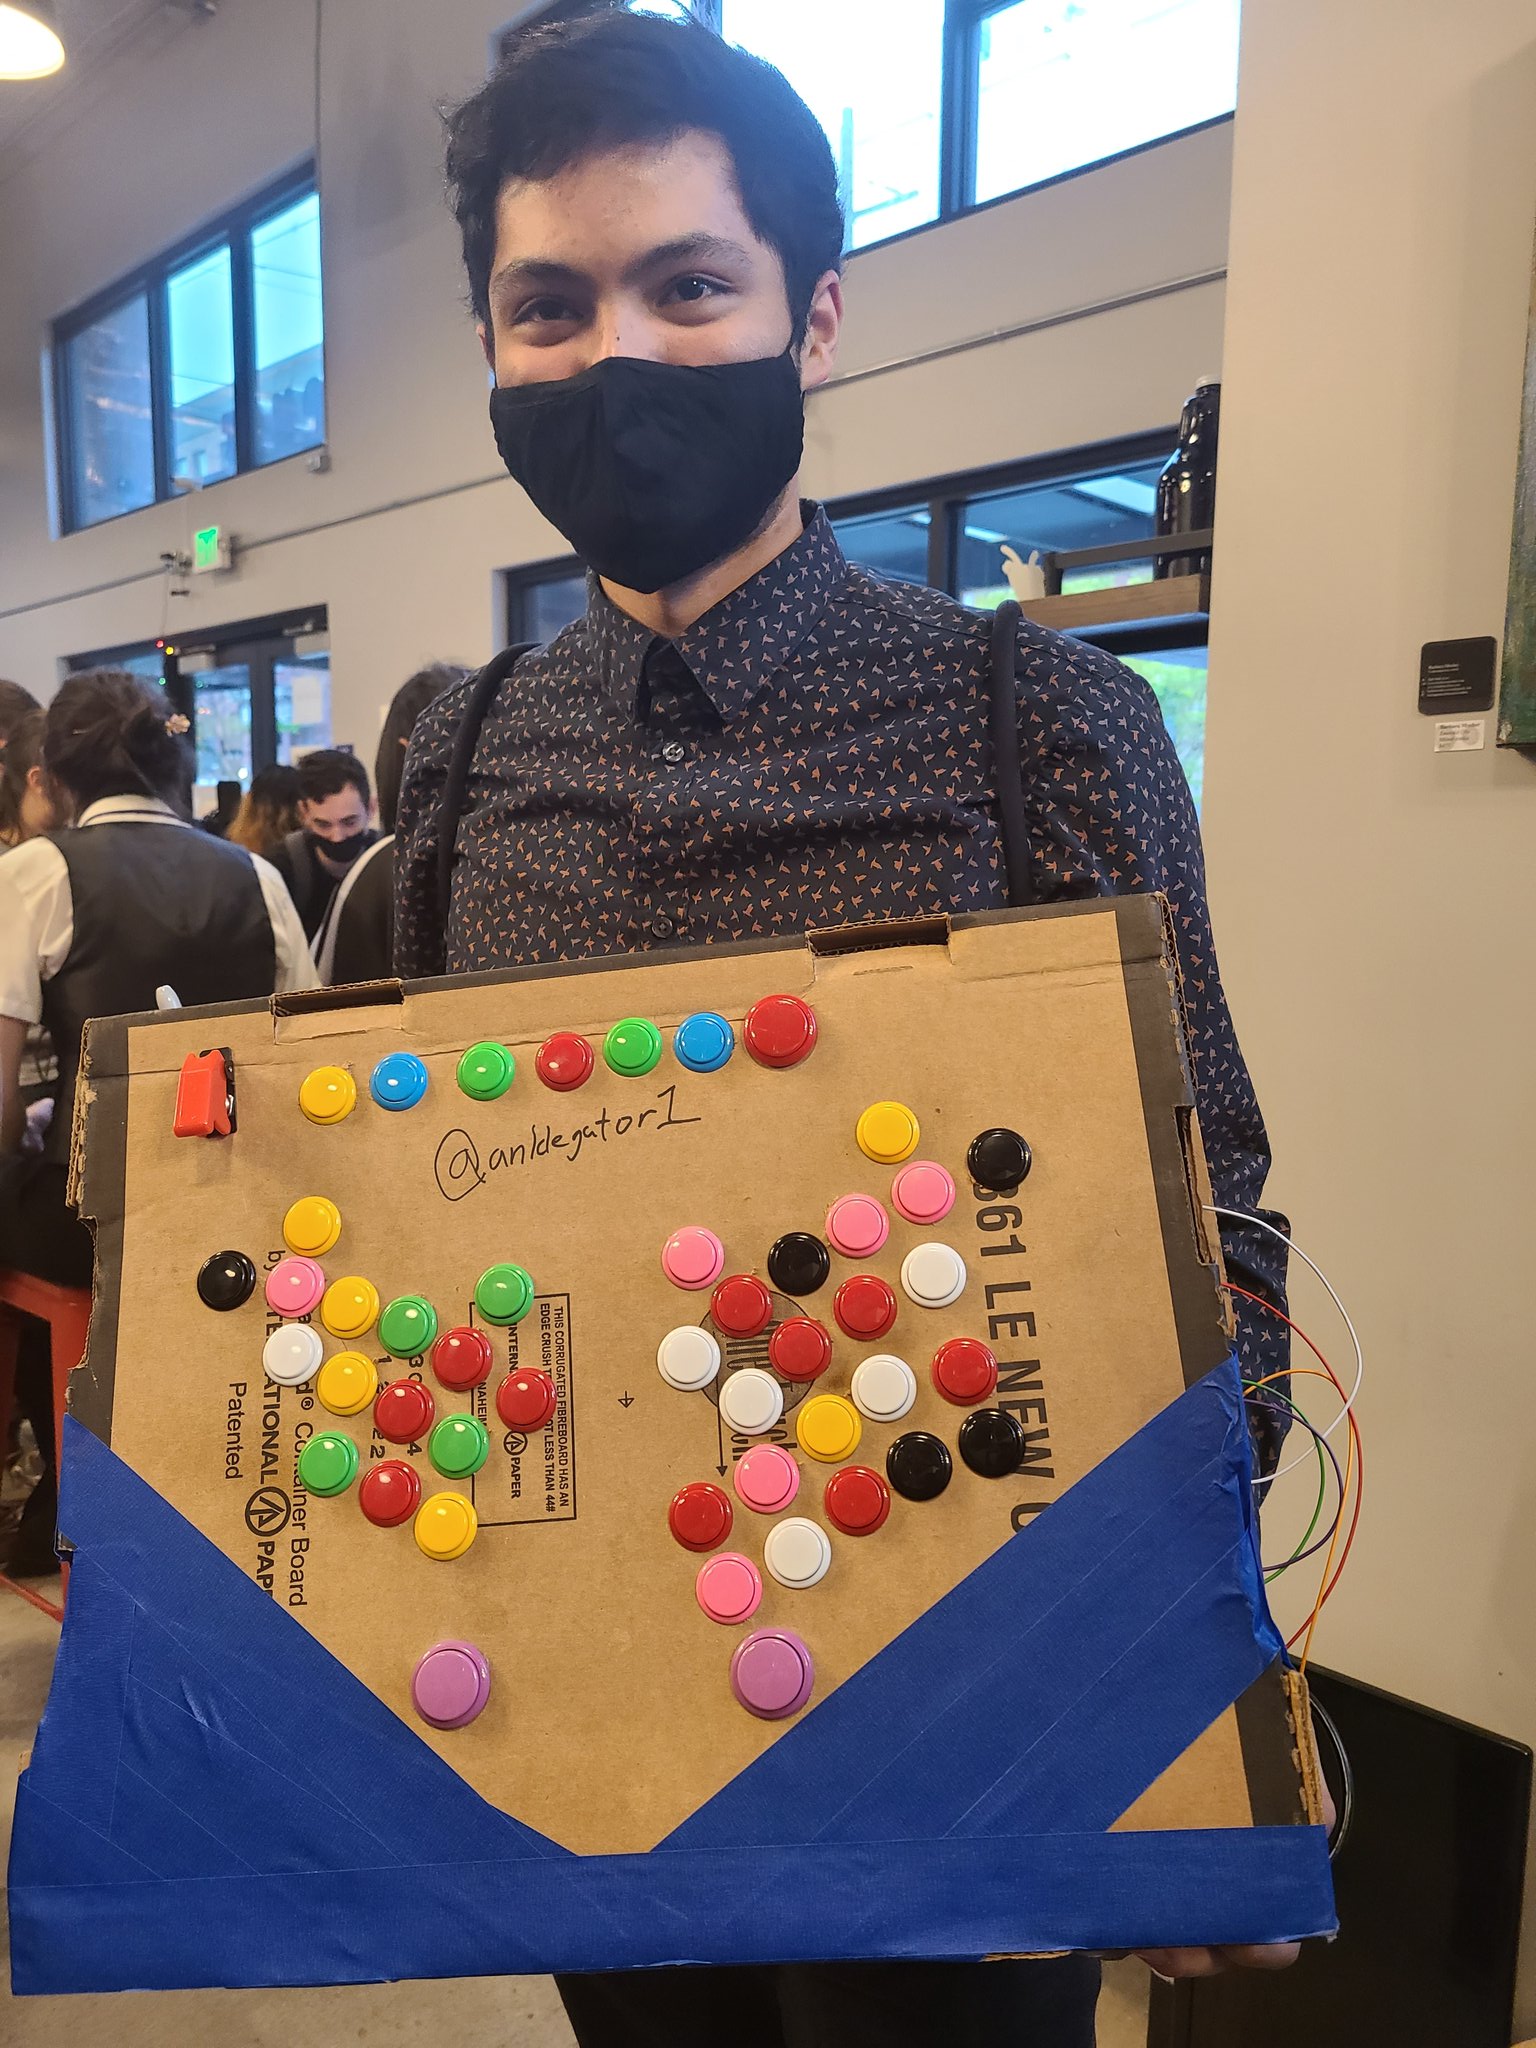
After returning from EVO 2023, I found myself filled with this desire to build my own controller. Walking the convention floor, there were so many amazing sticks in use: ones built into cosplay props, one scaled up as if for a giant, and one of my personal favorites, the Potemkin hitbox. How could I not make something of my own?
A few ideas circled around my head, but only one stuck: a hitbox wholly contained in a book. A comically large spellbook, naturally. Now, I’m sorry to disappoint, but this post is not about that controller. It’s still very much in the ideation stage. Rather, this post is about what I’ve made over the last few weekends as a sort of lead-up to that controller. What was meant to be practice for the skills I’d need to build the controller turned into a project all its own.
Finding my Layout
The first thing I wanted to figure out was what the layout of this controller would be. I have three fight sticks now, each with their own button layout. I could just pick my favorite of the three and go with that, but I have an opportunity here to make my “perfect” layout, one made for my hands. So I did what any sensible designer would do: covered my fingers in ink and slapped them on paper over and over from a comfortable position. I made motions as if I were playing to see where my fingers landed when reaching for certain buttons, and tried to do it enough to get a general idea of where my fingers can comfortably reach.
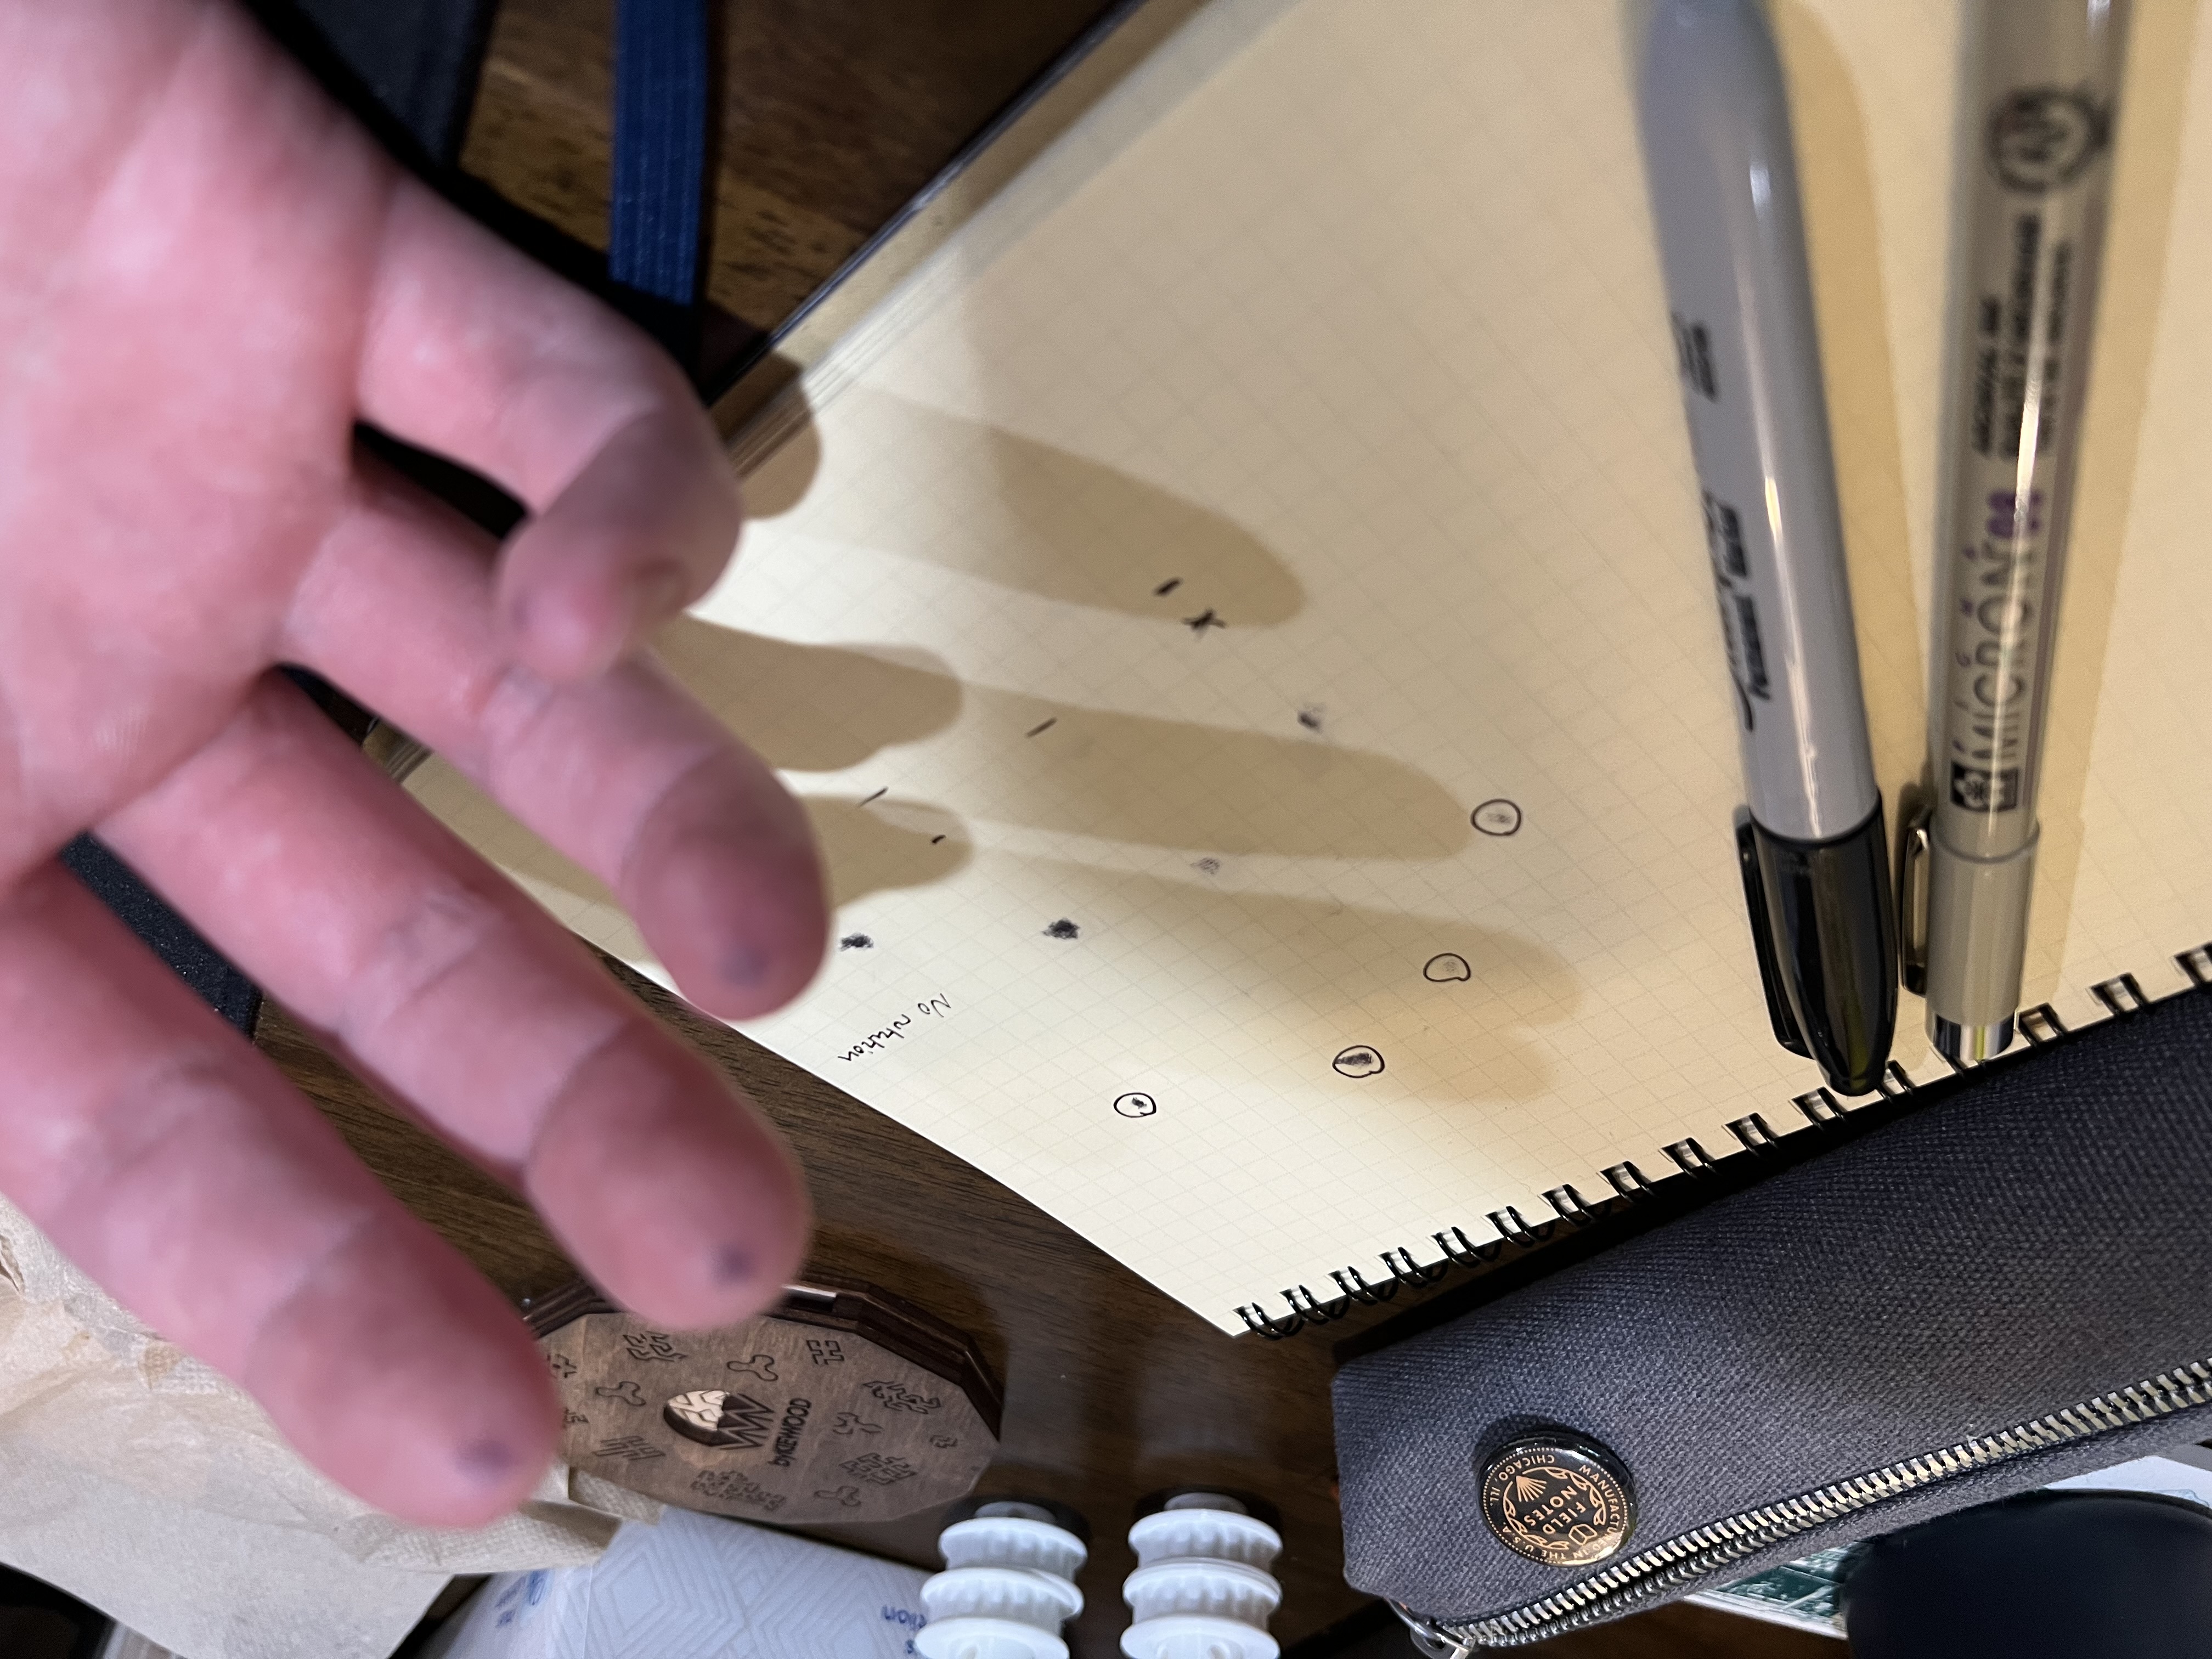
Now this is engineering.
And after that delightful bit of goofing off, I realized that my perfect, personal layout was barely distinguishable from one of the most-used Japanese arcade cabinet layouts. I’d been looking at a variety of existing layouts for inspiration the day prior. Turns out the people that do this for a living know what they’re doing.
After printing the layout out, and some more tapping on paper, I decided I wanted to try the layout with real buttons. I have a lot of options lying around–normal keycaps, extras from my Snackbox Micro, classic Sanwas–so I just picked one and ran with it. Half a day of printing later, I had a couple plates and a frame to hold them.
Well, one frame.
Here, I have that Japanese layout, rotated 15 degrees inward for the ergonomics. I spent a while with the biggest book I could find resting in my lap, trying to figure out where exactly I’d like to put my hands and what that angle would be. This turned out to be really comfortable. I played a few sets of Street Fighter 6 with it, and despite the less-than-ideal case, it was nice to use.
Then I went off on a bit of a tangent.
The “Arcadis MacroPad”
I can’t remember how it came up, but I was talking with someone about how it would be funny to have a macropad with the same layout as a fightstick. I see handmade pads all the time online, and while I don’t really need one, I figured I could make one just for kicks. I also thought it would be a good chance to practice the electronics side of things before building the big project.
The next day, I opened Fusion 360 and set about making a much smaller version of the hitbox plates, one more suited to sit to the side of my keyboard. It took a few iterations. The first didn’t have very much space along the edges, the second couldn’t handle the thin walls for the screw holes. The third, however, was just right.
Optimal
After getting the switches and caps in, I loved it. I turned all my focus to this thing. After the top panel was done, it was time to get everything wired up. I had a small stint with electronics last year, so I was still sitting on all the equipment I needed. I broke out the soldering iron, a pile of wire, and an Arduino Nano Every. I set about doing a rather scuffed job of soldering everything together, which took me a moment to remember how to do right and I still didn’t end up with the greatest joints.
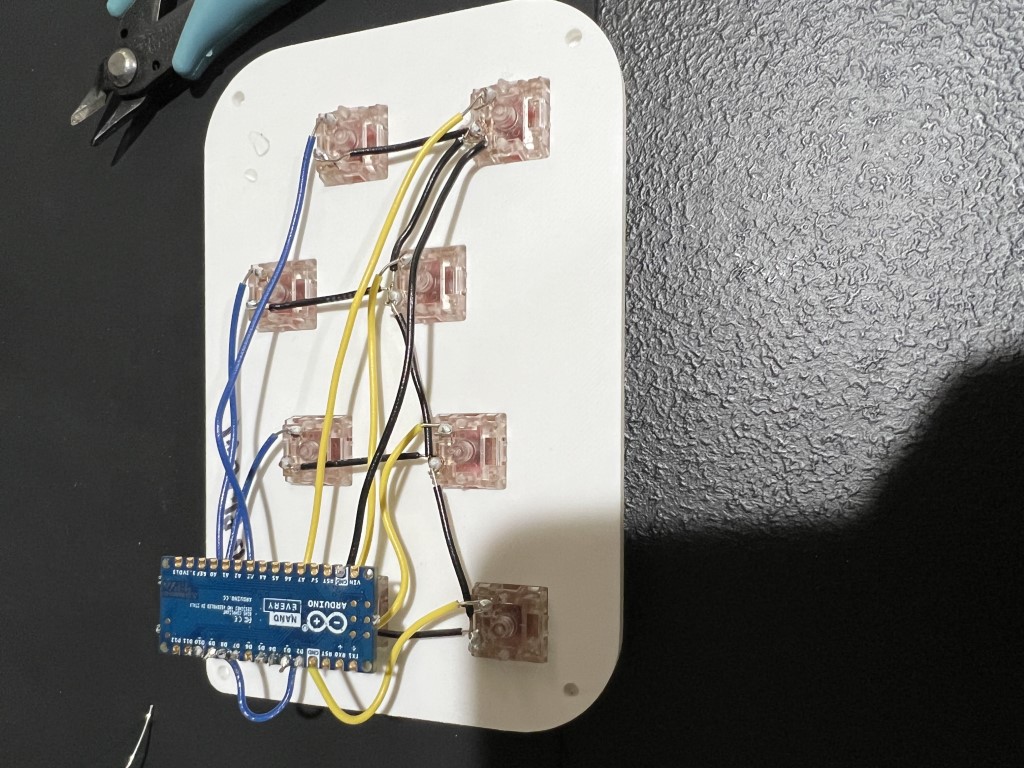
Don't look at my joints.
Then, once I started programming it, I realized there was a major issue: the Nano Every can’t be an HID device. In other words, this little board can’t be a keyboard. I felt pretty silly right about then, having already wired everything up when I could have figured that out first. So I set about desoldering all my work and swapping the board out for a ProMicro, looking up if it could do what I wanted first (it can of course).
I wrote my own program at first, but decided I didn’t want to reinvent the wheel and turned to QMK, which I understood to be the go-to for keyboard builders everywhere. A bit of fiddling with the flasher later (do not get me started on the pain of flashing this thing), and I had a functional macropad! I already had the bottom printed, so I screwed everything together and it was done.
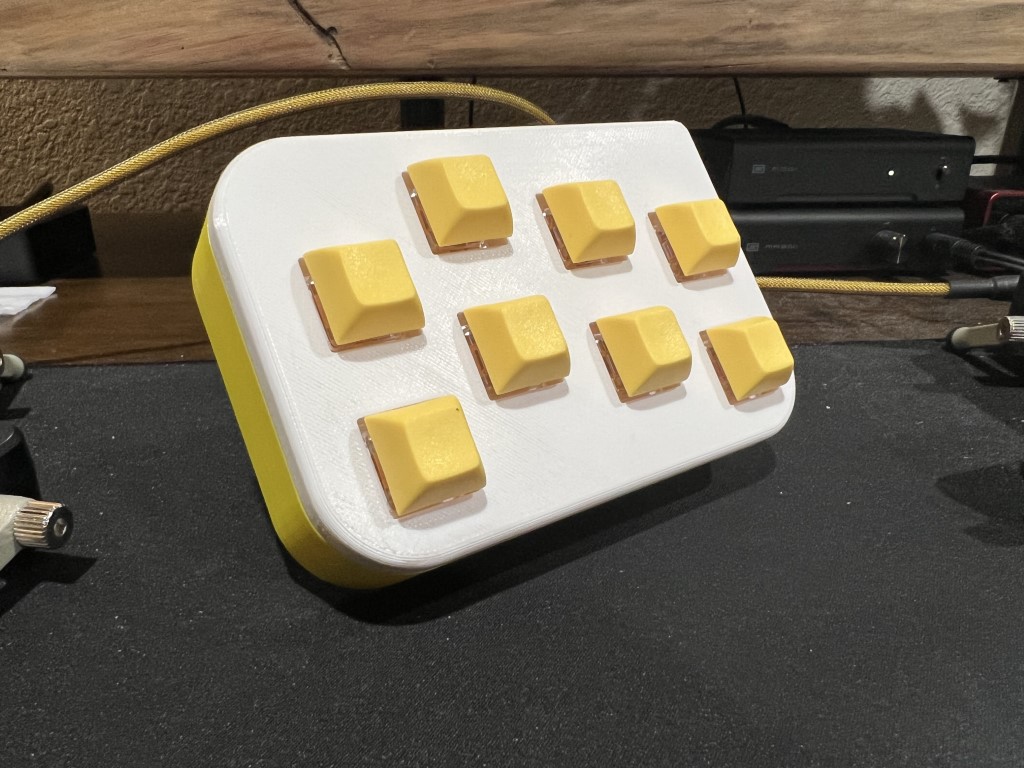
The pad for Gamers.
Now, to be honest with you, a week later I was tired of using the thing. It was comfortable and I continued to find its existence hilarious, but the layout of my current keyboard is already so ingrained in my head that every shortcut I could think to put on the thing was just too slow considering I had to reach over. Regardless, it’s novel, it’s fun, and I’m glad I made it.
I continued to have this itch though. I wanted to build another. I can’t even say this one was for the project as a whole, I just wanted to build another pad. I was starting to understand how much of a slippery slope this can be for all the builders out there.
The “Arcadis osu!pad”
So, I play a decent amount of osu!. I started ages ago after seeing others use it to train their aim, which quickly became playing just to play. If you don’t know it, you play “beatmaps” where notes pop up all over the screen. You track them with your mouse and then hit two buttons on your keyboard in rhythm. This doesn’t need a special controller, but I figured, why not?
Prototyping
I ended up creating a few different test prints, trying to find a good layout for this pad.
Attempt #1: Too high, uncomfortable
Attempt #2: Keys stuck out too high
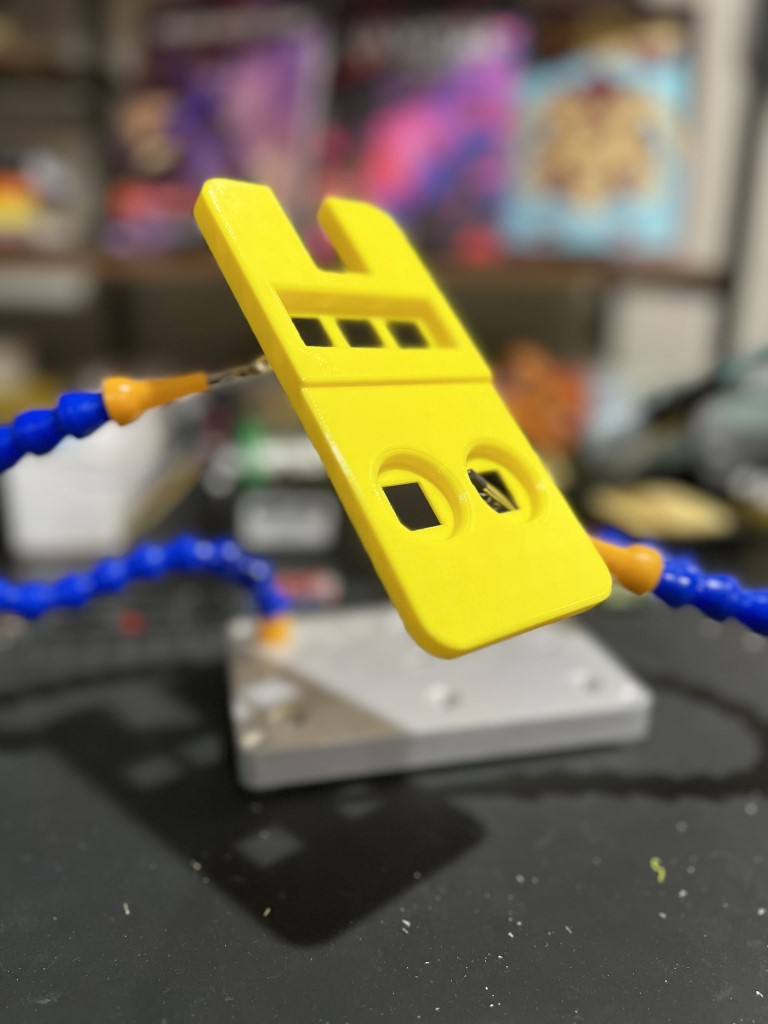
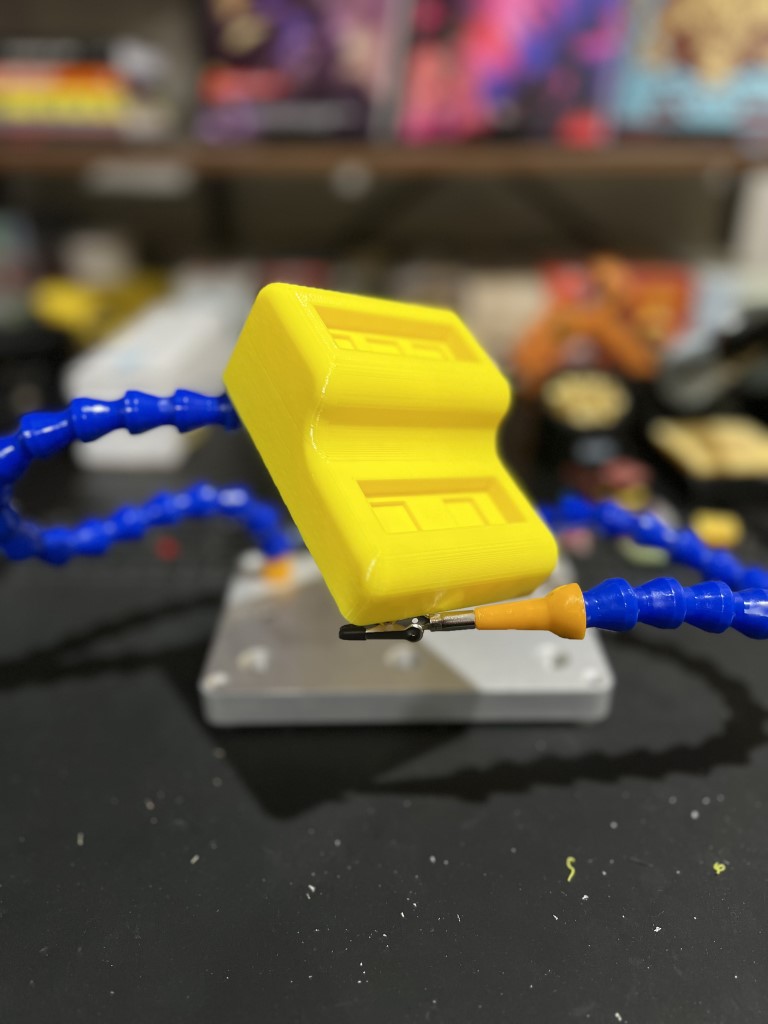
Attempt #3: Oh yeah, that's the one
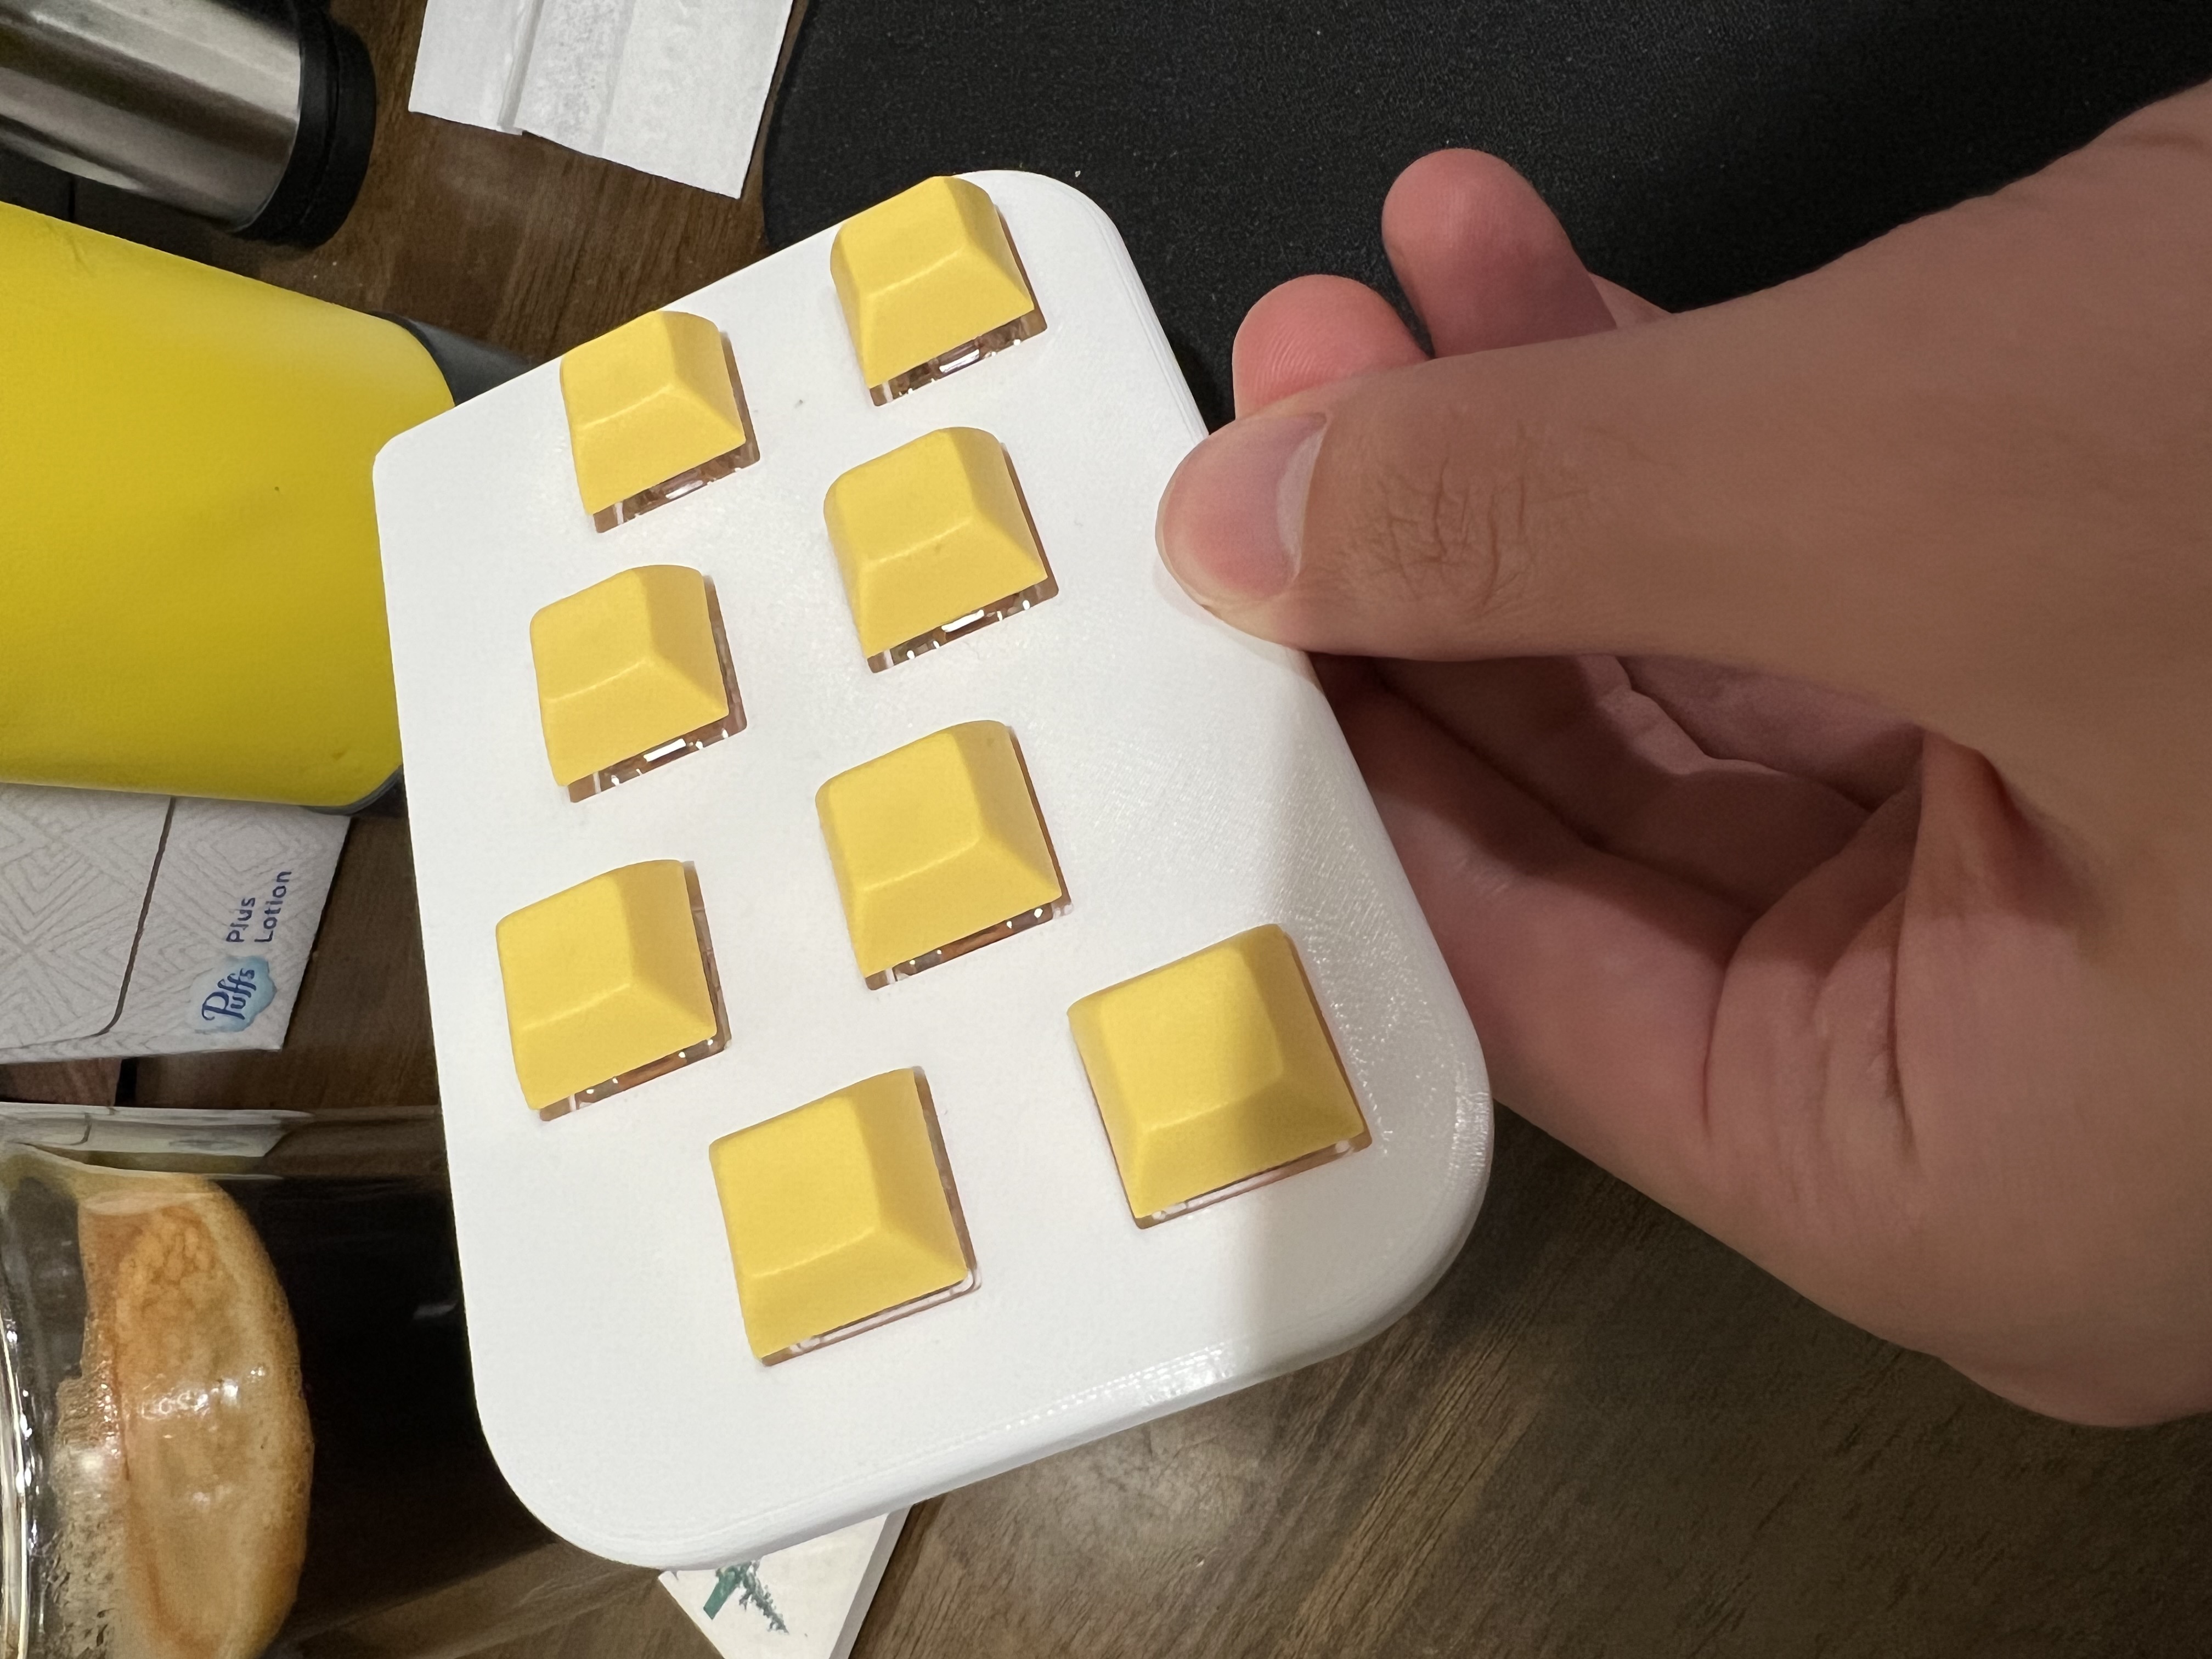
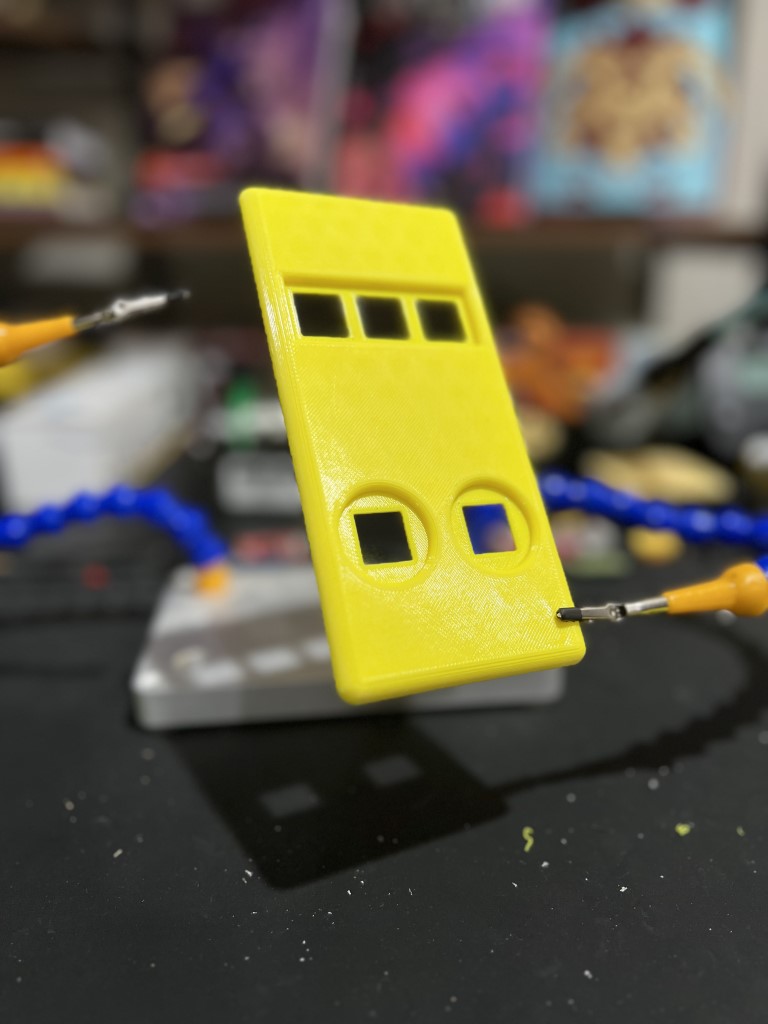
After a few iterations, I ended up with a design that I really loved. The final prototype above came about quite nicely. I was brainstorming, doodling in my notebook, and received a text. I picked up my phone and thought that it was actually the perfect size. So a bit of tapping around on it and I got a general idea of where I’d like the buttons to go. I recessed the button mounts so that the keycaps stuck out just over the top, and then raised the top buttons for just the slightest amount of distinction from the two main keys. Finally, to take advantage of the size, I added a gap at the top to hold the microcontroller, allowing me to make the pad just tall enough for the wires inside.
Post-Processing
I decided that I wanted this project to be a bit more professional than the last, so I picked up a few things to do post-processing to a print for the first time: primer, paint, etc. I wasn’t satisfied with my first attempt. The print had some clear gaps in the top layer (mostly due to using a new filament and not dialing it in first), which I didn’t sand down fully. Those gaps ended up more and more pronounced with the primer and paint applied.
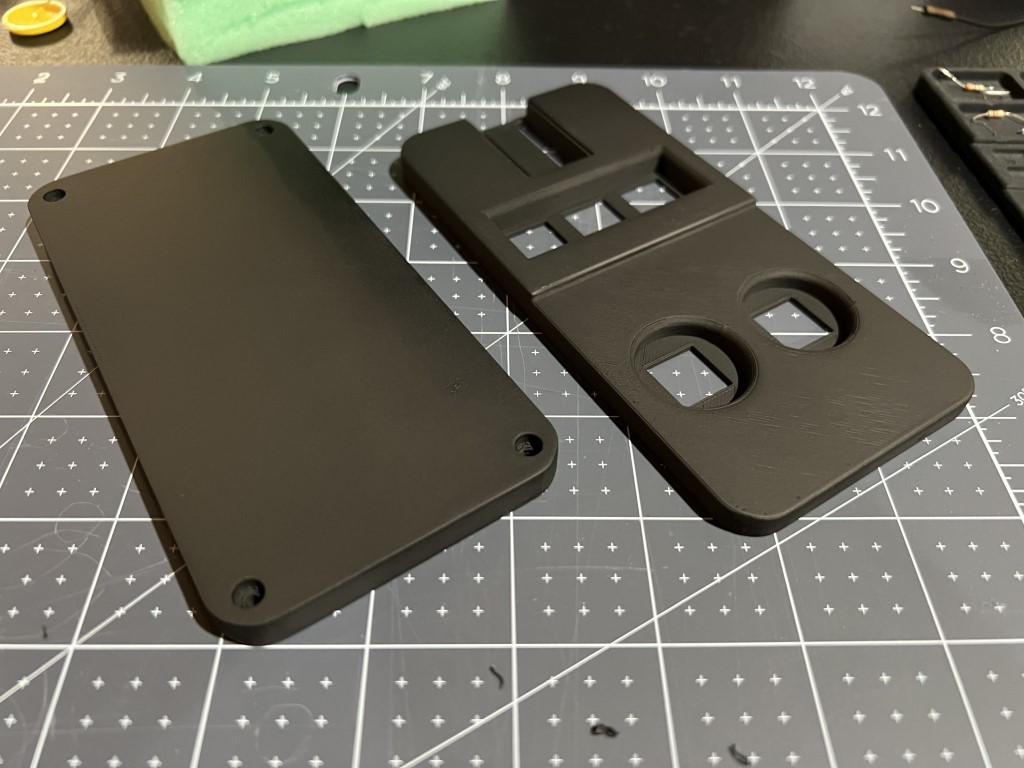
Can't really write this off as a stylistic choice.
I used acrylic paint for this first attempt, just brushing it on by hand. It wasn’t terrible, but I was looking to blame any part of the process for the small flaws. For attempt #2, I picked up some spray paint, sanded off every bit of the last attempt and then some, and gave it a fresh coat. Ultimately, while it still has some imperfections, I’m really happy that I did this.
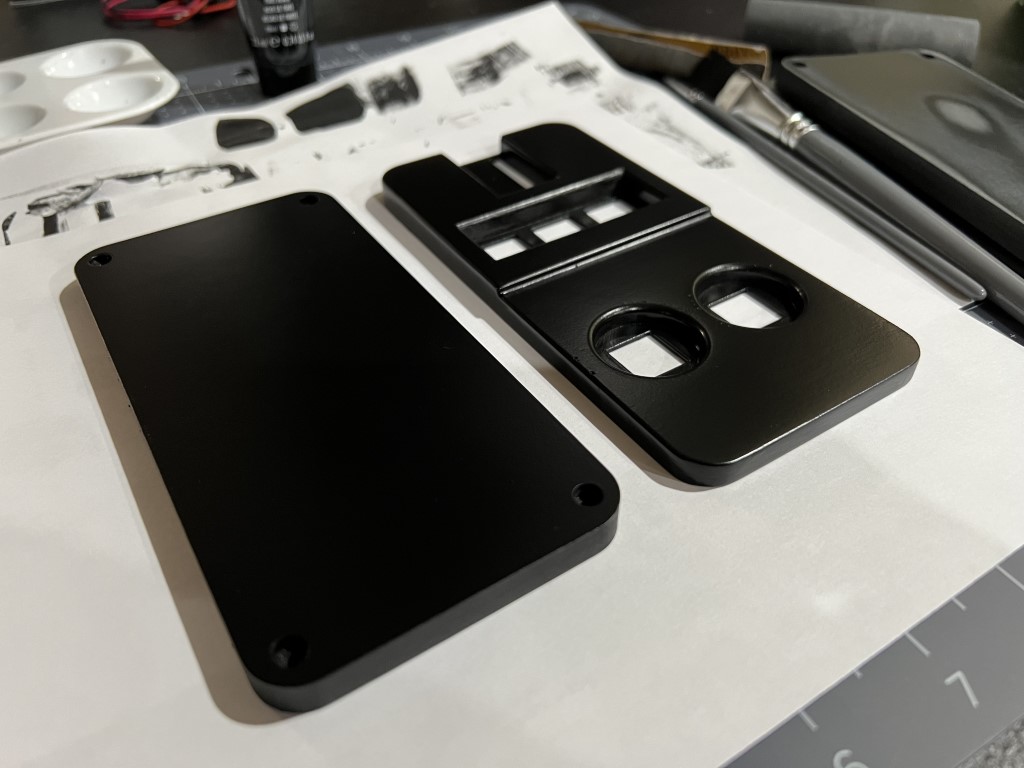
Much cleaner.
Building the Pad
With the parts prepped, it was time to move on to putting everything together. Thankfully, having learned my lesson from the last time, I had another ProMicro on hand for this one. It still ended up being a headache, I had accidentally purchased the 3.3V version instead of the 5V, which is the version QMK expects you to have. A bunch of reading later and I was compiling my firmware by hand with some specific rules set up. It wasn’t a terribly painful experience, and it wasn’t long before everything was wired up and working.
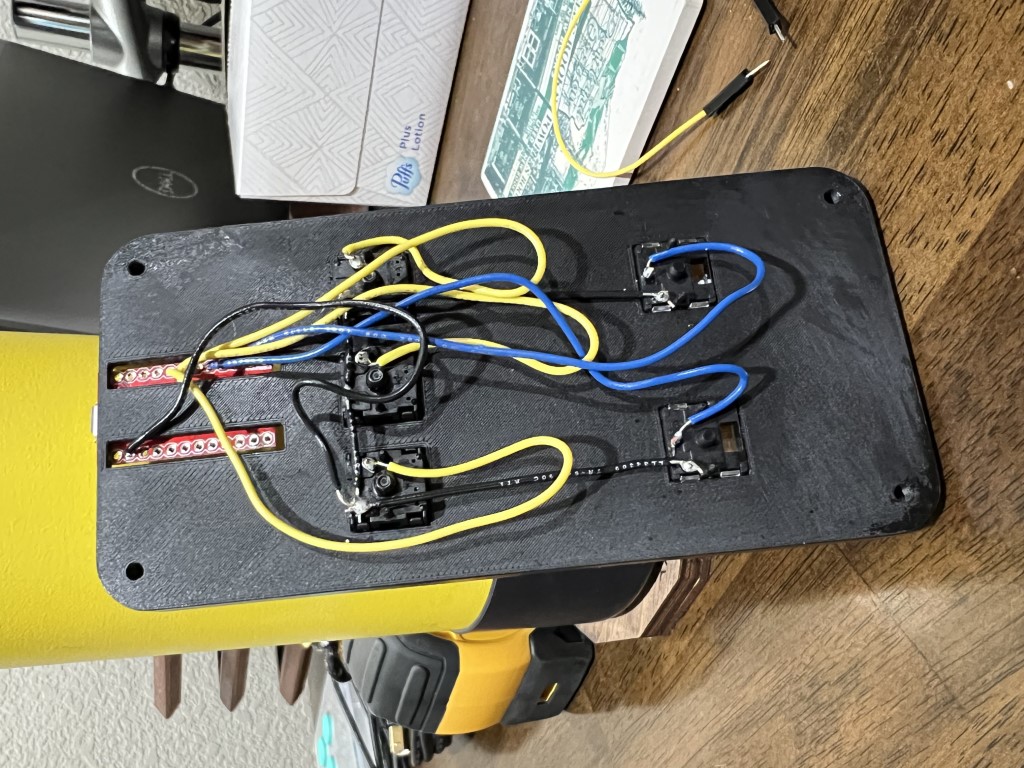
Still working on clean joints.
I flattened everything inside as much as I could and screwed on the bottom panel. Holding the final product in my hands, I was immensely satisfied.
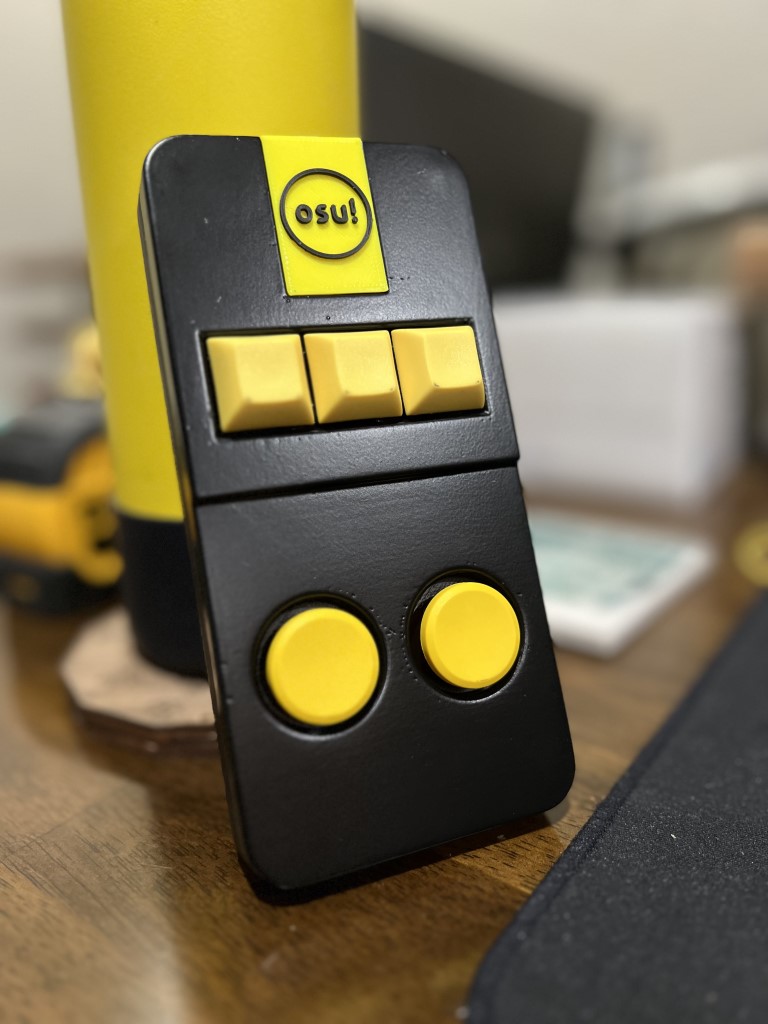
I made this.
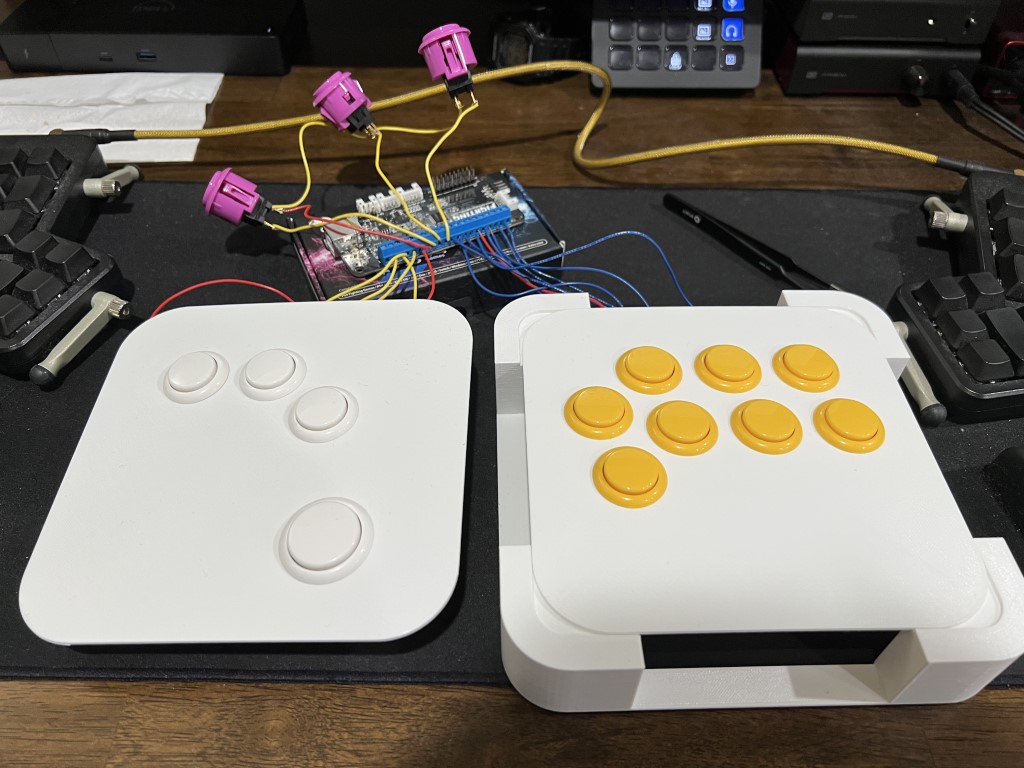
At the bottom, we have two Kailh CHOC switches with keycaps from Snackbox. Ever since buying their Micro fightstick, I’ve been in love with these low switches. Then along the top just a trio of Cherry MX blues. I don’t use clicky switches in my keyboard anymore, but I figure it’s fun for a gamepad. The top row is used for the most common menu options while the bottom is, of course, for clicking the notes. With this setup, from the moment I launch the game to the moment I quit, I only have to use the pad and my mouse.
Takeaways
With these projects done, I’ve cleaned up my disaster of a living room and finally set about compiling my thoughts. Kinda hard when things look like this:
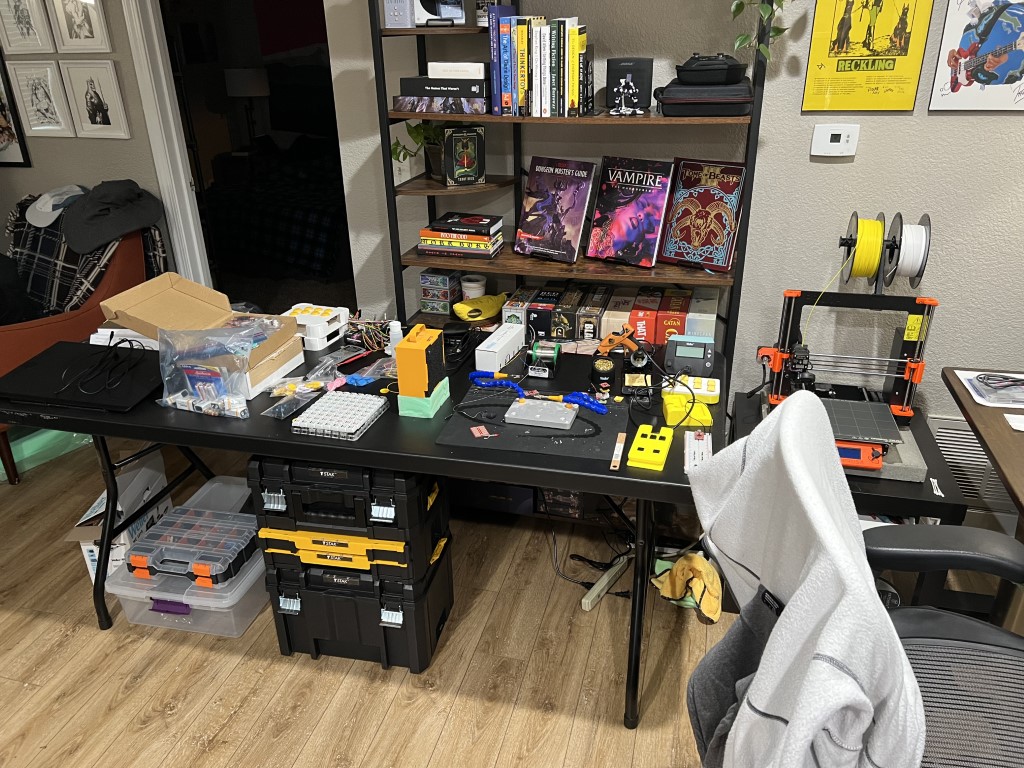
I'm just gonna turn the living room into a workshop.
Moving forward, I think I could see myself making more custom pads. I don’t want to distract myself from the main project, but it was honestly such a blast making these. I have some notes for future Caleb whenever he starts on one of these:
- Whatever tolerance you’re giving the screw heads, double it. The threads are fine.
- You have breadboards, use them.
- Buy smaller, cheaper boards, you don’t need a ProMicro for a keypad.
- Sanding is a long process, just keep at it. Those paint coats after will thank you.
All-in-all, making keypads is fun as hell, and I fear for my future dive off the cliff into the deep sea of hand-wiring custom keyboards…